
Got this Runyon thing on lock! (@ Runyon Canyon)
shadow-writer:
|
|
|
The act of trying to forget someone is a futile one. In order to do so, you are forced to remember. It’s like dieting. Like trying your hardest not to think about food, while weighing every ounce and counting every calorie. |
|
I’m terrible at both.

So the cafe inside my work has an instagram account, and all the employees who follow it have a chance to win a $25 gift card every week. I was pretty excited when I won last month. I was less excited about the photo they chose of me, but my instagram is devoid of selfies, so I forgive them.
Anyway, I was talking to my coworker who runs the instagram account, and he was saying how they make a big deal at the cafe when you get your gift card. And I was like, “Yeah, they even take your picture!” And he was like, “Wait, what… They don’t do that.” And then I realized that the guy who sells me my $9 pressed juice every morning took a picture of me on his cell phone for his own personal collection!

Wednesday, March 26, 2014

DIY furniture, vodka, and bread pudding.
Wednesday, March 26, 2014
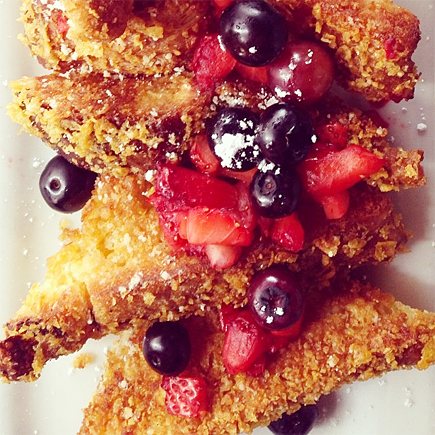
Fuckin’ french toast (@ Blu Jam Cafe)

Hiked the Hollywood sign in my Dodgers hat. Am I LA yet???
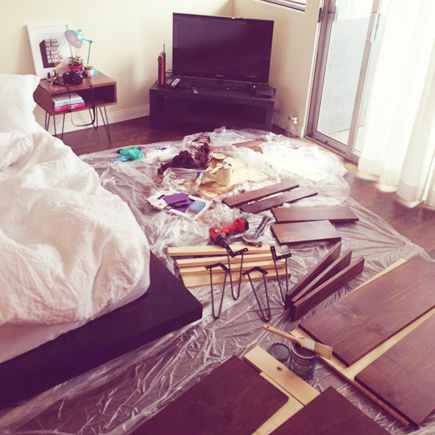
The girls are spending the night at my place this weekend, and I’m over here building furniture like IDGAF.
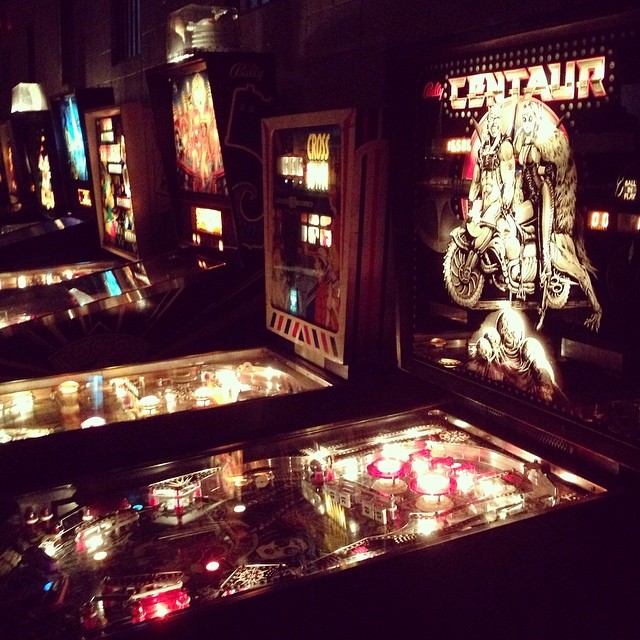
Zangief mules + old school cool (@ EightyTwo barcade)
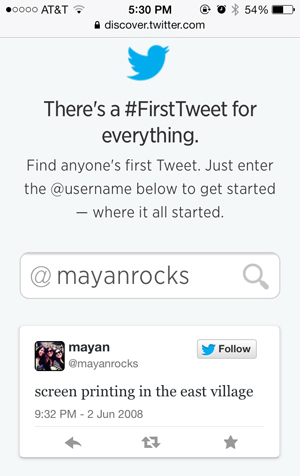
@mayanrocks: doing twitter wrong since ’08
Find your #FirstTweet here.

Every Tuesday, Deane and I go trolling for sweets in LA. We coincidentally started doing this on Fat Tuesday, not realizing it was Mardi Gras—we just wanted some pie! And so… Fat Tuesdays were born.
So far, we’ve been to Alcove (Los Feliz), The Pie Hole (DTLA), and Ramekin (Los Feliz). We went to Ramekin two Tuesdays in a row (and the Saturday in between!), because their chocolate bread pudding fixes things in the universe. So does their s’mores cookie. And their strawberry brick toast. That are all BAKED TO ORDER. Don’t even get me started on their earl grey ice cream.
Someday we’ll get to the other places on my sweets list, but today is not that day.
HOME DEPOT DUDE: So you want these cut at 22.5 inches?
ME: (showing him my measuring tape) Can you add one of these little guys?
HOME DEPOT DUDE: You mean 1/16th of an inch?
ME: Oh, is that what you call it…?

…
I never feel as stupid as I do when I’m at Home Deeps. I promise I’m, like, way smarter outside of the store (ignore my contradictory burnt toast post below).
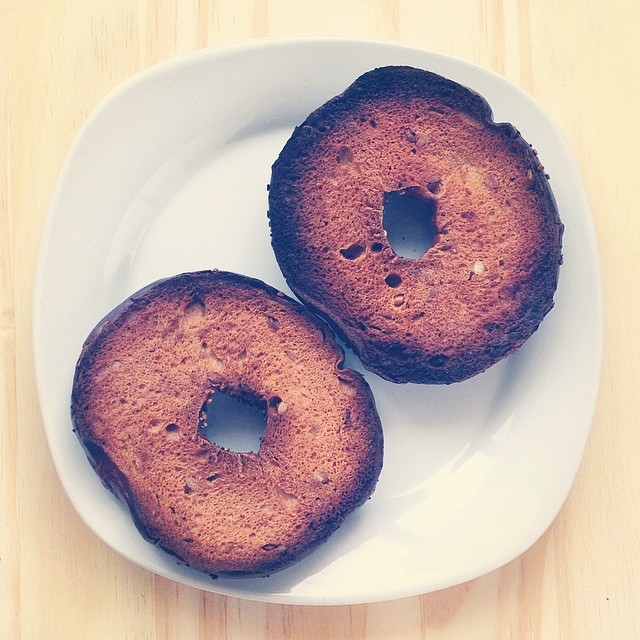
This week’s edition of Mayan burns the toast.
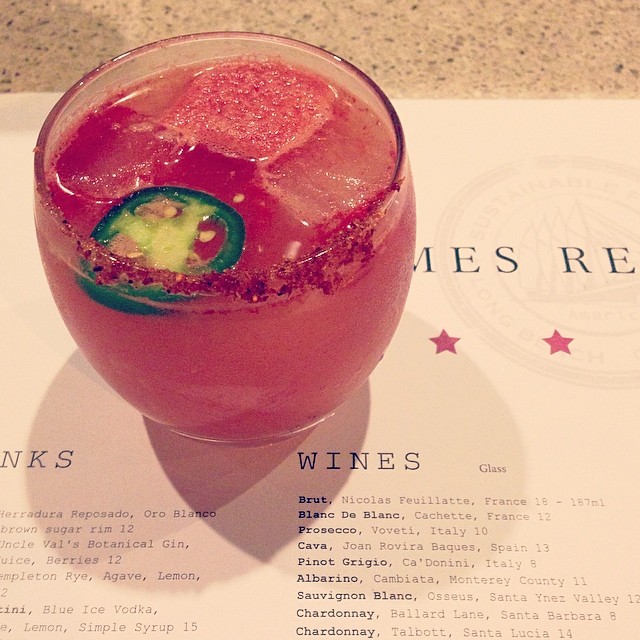
Tajin margarita (@ James Republic, Long Beach). Happy birthday, Karey!
(As featured on Buzzfeed, Elle Greece, Marie Claire France, Diply, How To Build It, Nouvelle Daily, Oh So Lovely Blog, List Inspired, Roomed, and Lighter Side of Real Estate)
I’m obsessed with all things Mid-Century modern, and when I saw this Co-Mod side table, I knew that I needed it in my life. But it was $345. And sold out. And $345. I felt like that needed to be mentioned twice.
Because I’ve mastered the art of assembling Ikea furniture (and tested many friendships along the way), I thought that I should try building this side table myself. I went to Home Depot, showed them a photo on my phone and was basically like, “HOW YOU DO DIS?” If you act like you don’t know what you’re doing (or you’re like me and you legitimately do not know what you’re doing), the good people at Home Depot will help you. They will tell you what paint brush you should use to apply clear coat. They will tell you what clear coat is. They will even cut your wood down to the exact size that you need at no extra charge.
Building this side table was easier than assembling an Ikea sectional sofa!
MATERIALS & TOOLS:
- 1 – 1″x8″-10′ common board ($14)
- 1 – 1″x6″-6′ common board ($4)
- Wood Stain – I used Minwax Gel Stain in Hickory
-
Clear Coat – I used Minwax Polycrylic in Clear Satin
-
16 – 1.75″ nails
-
4 – Mid-Century modern legs – I used 12″ hairpin legs ($61)
-
Sandpaper
-
Hammer
-
Power drill
CUT LIST:
- 1″x8″-10′ common board – 4 pieces that are cut 20″ long
(the top & bottom boards)
- 1″x6″-6′ common board – 2 pieces that are cut 14.5″ long
(the side boards)
DIRECTIONS:
- Sand your boards. I used 150 grit sandpaper and sanded in the direction of the grain until it felt smooth. After your boards are sanded, wipe them down with a damp cloth to remove excess sawdust before staining them. This is probably something you should do outdoors in a well-ventilated area and not inside your 400 square foot studio during the only weekend it rains in Los Angeles. I still have sawdust in places I didn’t know I could get sawdust.
- Stain your boards. Use gloves unless you want to have to keep explaining to everyone why your hands are brown for the next three days. You can use an old t-shirt, or if you’re a hoarder like me and can’t bear to part with your ‘I ♥ Haters’ shirt, you can get a pack of paint rags from Home Depot for $4 and use those instead. I used one to apply the stain to the wood and one to wipe off the excess. It dries pretty fast, so I was able to coat all sides without waiting. I only applied one coat, but you can apply more if you want it darker. Let the boards dry completely.
- Apply clear coat. I applied it to one side of the boards using a synthetic paint brush. Give it a couple hours to dry, then turn your boards over and apply it to the other side.
- Assemble your side table. Use two 20″ boards for the bottom, two 20″ boards for the top, and the remaining 14.5″ boards for the sides. Here’s a helpful diagram:
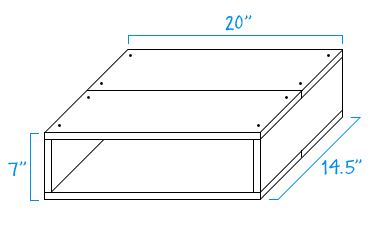
- Nail the two top boards to the long edge of the side boards, and repeat on the bottom. Use two nails on each end of each board as pictured. I had someone hold the boards together for me while I hammered away.
- Mount the legs. I set the legs 2″ from the edges and marked where the screws would go. I pre-drilled pilot holes and screwed the legs on with sixteen 3/4″ screws. Depending on what kind of legs you buy, you might have a different method for attaching them.
You can build your own Mid-Century modern inspired side table for roughly $78 (for just the wood and the hairpin legs, if you happen to have the other materials). You really can’t beat that price or the sense of accomplishment you’ll feel after building something with your bare, wood-stained hands.
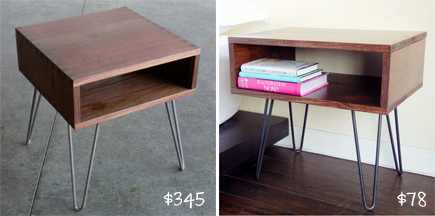
Other things pictured:
Painted succulent pots designed by me (DIY tutorial here)
Task lamp from Target
Beyoncé print designed by me (sold on Etsy)
Bedding from Anthropologie
Bed from West Elm (discontinued!)
| 4:22 PM |
Deane: when do they start serving pancakes? i get here like at 8am anyway |
| |
Zack: WHY DO YOU GET HERE AT 8AM. I’m not even awake at that point. |
| 4:23 PM |
Deane: my equinox class starts at 6/6:15am errryday, son. i like waking up early. makes me feel good about myself. then i eat birthday cake pancakes and $1 french toast. |
| 4:25 PM |
me: i woke up at 8:30 today |
| |
 |
| 4:26 PM |
Zack: Marion you own the internet. Seriously. Its so impressive. |
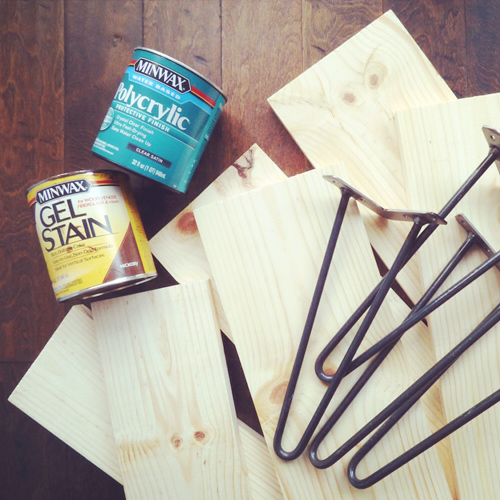
This is the start of something beautiful.
TRADER JOE’S CASHIER: You just get out of work?
ME: Yeah, these heels are coming off as soon as I get home.
TRADER JOE’S CASHIER: I like to take my pants off right when I get home. I’m not even through the door yet, and I’m already unbuckling my belt.
…
You guys, I think I found the one <3
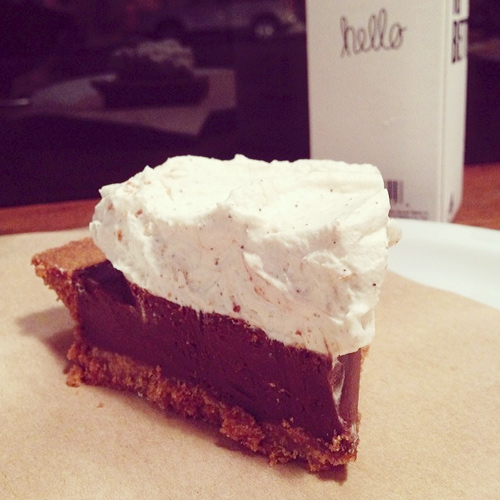
Am I doing this right? (@ The Pie Hole)


DIY: Painted Succulent Pots
What you’ll need:
Clay pots in various sizes
Acrylic spray paint
Painter’s tape
Succulents
Potting Soil
Clear sealant (optional)
Directions:
Spray the clay pots with acrylic paint. I used Krylon spray paint in Mambo Pink, Flat White and Sea Glass.
Let them dry completely before taping off whatever pattern or shape your heart desires and painting them with an accent color. I used Krylon’s Gold Metallic spray paint for the triangles.
If you plan on keeping your clay pots outdoors, make sure you weatherproof them with clear sealant. Otherwise, you can go ahead and plant your succulents!
This is an easy way to add some color to your home. The hard part (for me anyway) is keeping the plants alive!

Sanding, staining and spray painting on this rainy Sunday. IDK why I thought these were things I could do inside my studio. Pretty sure I’m high right now.
I suppose in the end it’s almost too easy to look back and say what you should have done, how you might have changed things. What’s harder—what’s much, much harder—is to accept what you actually did do.
